
The most important aspects as a parent or teacher surrounding balance bikes are patience, knowledge, and practice.
In some cases, you'll need to teach little. In all cases, kids rely on adults to facilitate the activity and provide safety and support.
Depending upon WHEN you start a child on a balance bike will make a difference in our step by step guide. We'll start with generalities.
GENERALITIES
Patience- Your attitude is important.
In our "learn to ride" blog, "Coach Dad" a.k.a Doug suggested Optimism as a starter and we will too.
The time it takes, and the level to which a child will progress, is as unique as the child.
Reinforce the following idea: “Before, this was the best I could do. Now, I can do more.”
As a teacher or parent, use any notions you have of the child's motivators, insecurities, and strengths.
Keep it simple and playful.
Use lots of cheering enthusiasm as encouragement. "Great effort". "That looks like fun". "You are working so hard".
Smiles are visual indicators of encouragement. Kids LOVE animation. You are the character, it's up to you.
Bring lots of favorite snacks, plenty of water, and be sure your child is rested at a "good part" of the day when you say "time for bike". Make "bike time" a part of the daily regular routine, building anticipation/ expectation for the child.
Always look for a closed secure location, away from moving vehicles. Examples include park pathways paved or unpaved away from roadways, a closed parking lot, or school yard.
Think big, start small. 90 seconds a day will become a number of minutes, and eventually a number of hours.
Starting at approximately 12 months.
NEVER leave a child unsupervised with a balance bike - NEVER.
Suggested duration 90 seconds a day.
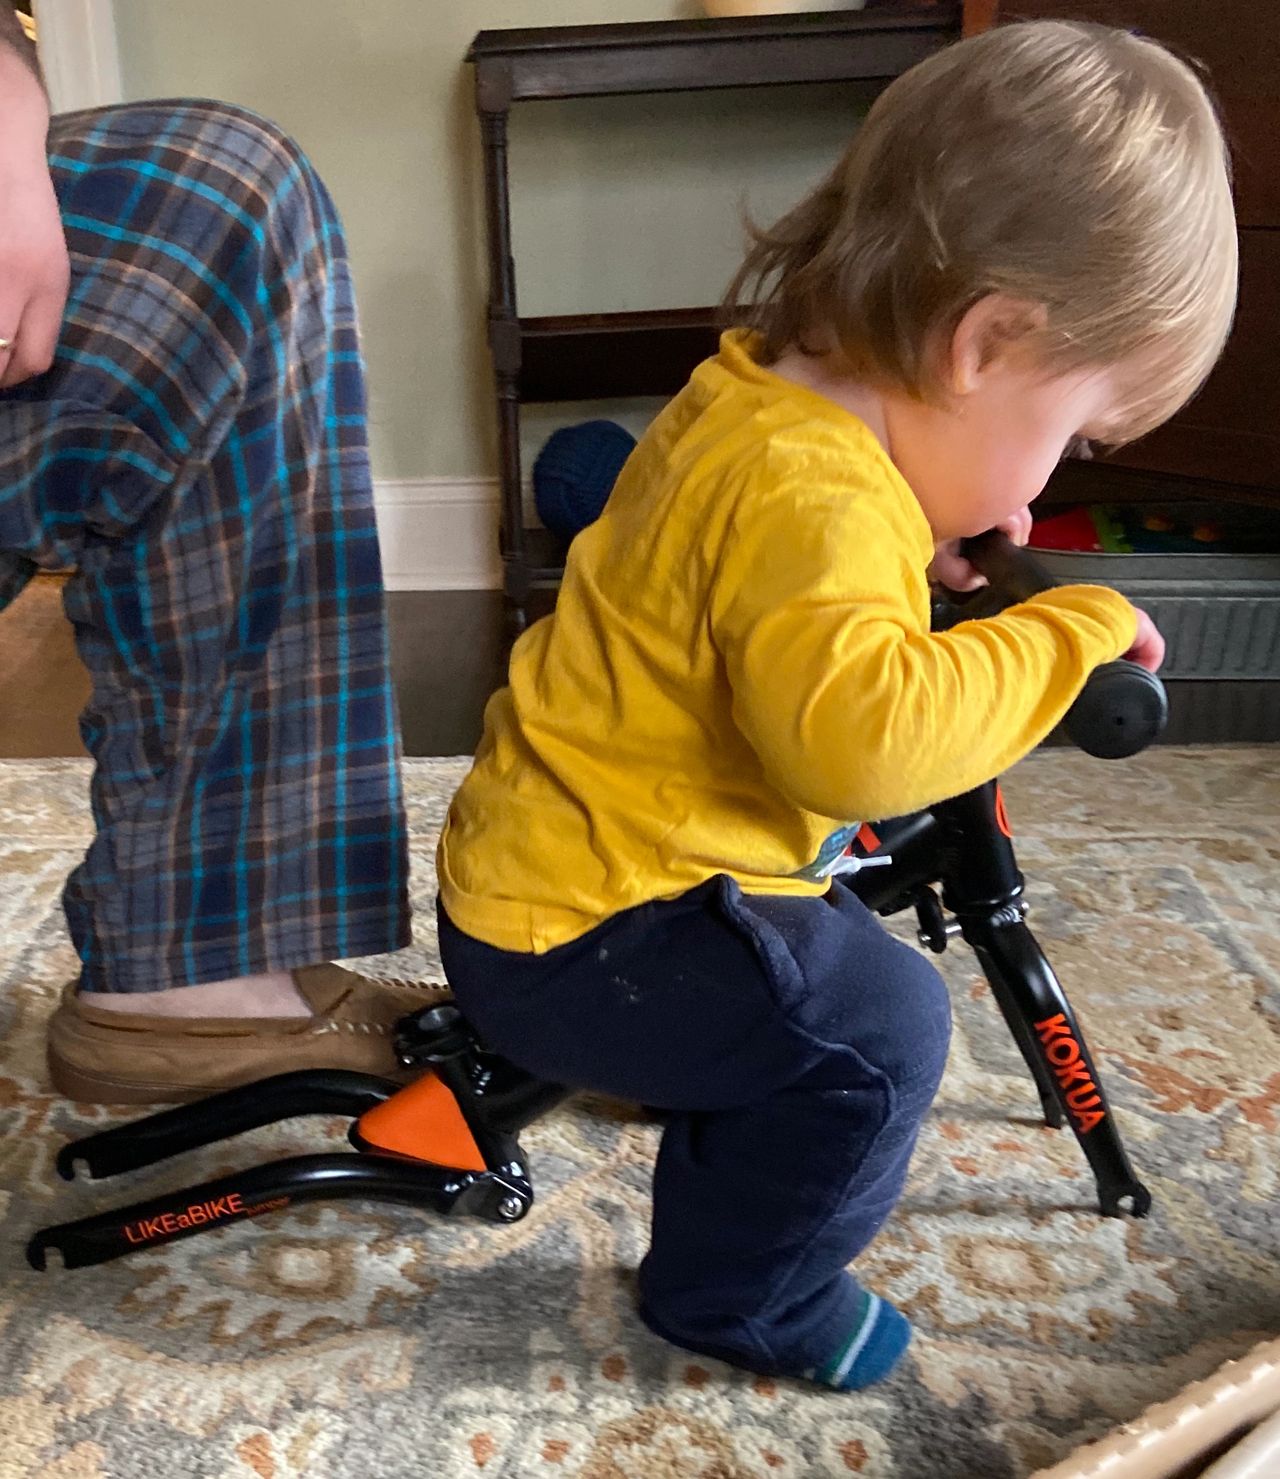
Place the balance bike with the child UNDER SUPERVISION in a family room from a young age of 12-15 months, for a few minutes at least everyday. Tell the child "it's time for bike", pull it out of a safely stored place, and let them crawl all over it. With a soft rug underneath, falling over will become funny, and natural. Giggle with them. NEVER leave child unsupervised with a balance bike - NEVER. How about 90 seconds a day.
Starting at 18-24 months old.
NEVER leave a child unsupervised with a balance bike - NEVER.
Suggested duration 2 minutes a day to start and add time as you see interest.
Place the balance bike with the child UNDER SUPERVISION in a family room for a few minutes at least everyday. Tell them "it's time for bike", pull it out of a safely stored place, and let them crawl all over it. With a soft rug underneath, falling over will become funny, and natural.
Rider fit-Going outside
NEVER leave child unsupervised with a balance bike - NEVER.
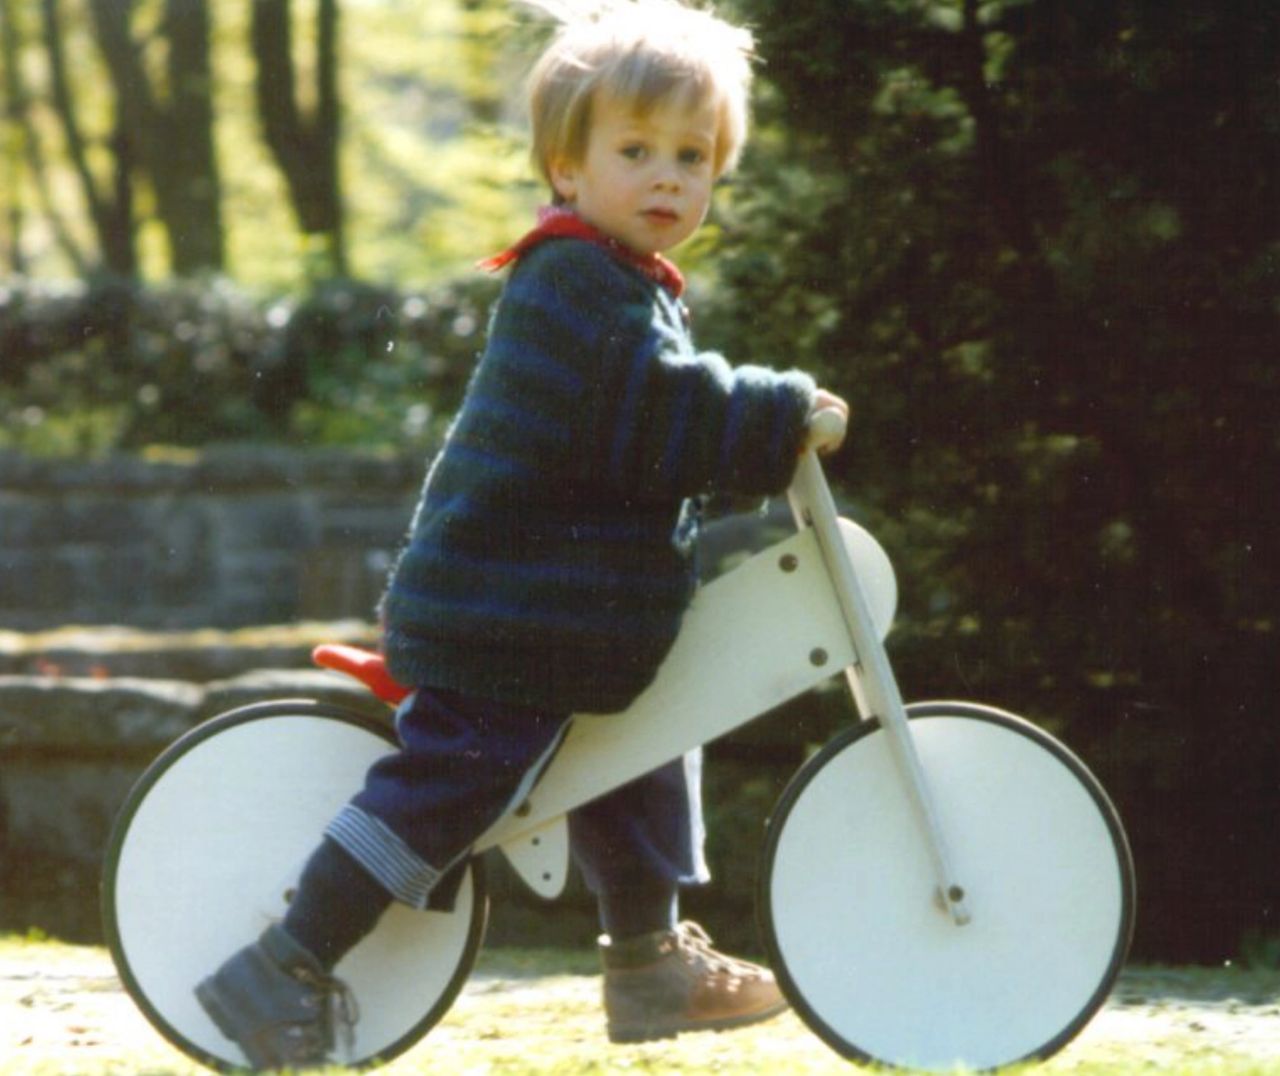
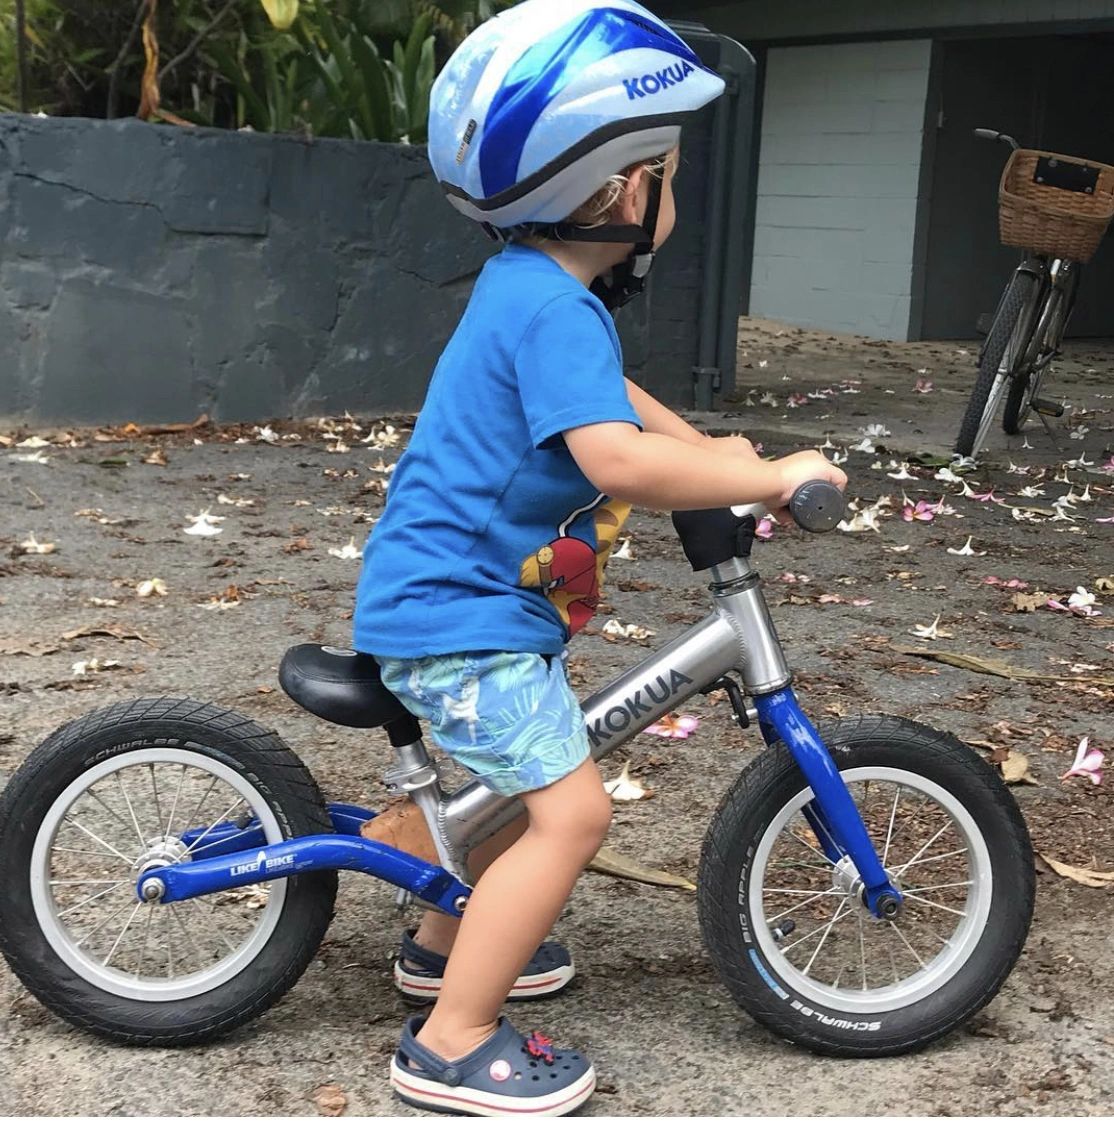
When the child is tall enough to stand over the bike seated, with feet flat on the ground, legs slightly bent, its time to go outside!
Getting the feel of bike handling
Here, we teach how to handle the bike before we ever start rolling.
I like to suggest starting in a standing position over the bike, with instructor standing next to the child facing in same direction, OR in front of the child facing the child.
We start with noises and wiggles. "Lets make some noise and get the wiggle out." "Can you wiggle?"
Turning involves pushing with arms/ hands
"OK, Hold the handle bars while standing." "Now we are going to practice turning while standing in place." "Push hard with your arms and wiggle the handlebars" "Wiggle wiggle wiggle your arms." "Ok, that was great!" Now we are going to push with the left hand to turn right". Hold the position for a moment. "Now push with the right hand to turn left." Pause. Repeat that with the pauses. Then we practice without the pause. "Left, Right, Left, Right". "Push, Push, Push, Push."
Lean
"OK, you did so great with your arms and hands, take a seat." "Now we will practice the lean while seated." "While pushing on the handle bars, Push with your right hand and lean slightly to the left. Now back up to 'center', and push on the left hand and lean to the right. (If a child has been riding a bike with training wheels, the child will have learned the opposite leaning because of centrifugal force thrusting the bike outward and caught by the training wheels.) While turning left, the bike needs to lean to the left. Turning ever so slightly to the right, the bike needs to lean to the right. Imagine yourself driving a vehicle around a curved highway, the roadway is sloped to help with the forces.
Hips control balance
The hips control the side to side motion of the bike, in tandem while pushing with the arms.
"OK, remember to keep pushing with your arms and hands. Now we want to push the bike side to side with our boom boom." " We are going to wiggle the bike with our boomy." "See if you can push the seat to the left.... " Pause pause pause. "Now to the right." Pause pause pause. Back and forth with less of a pause.
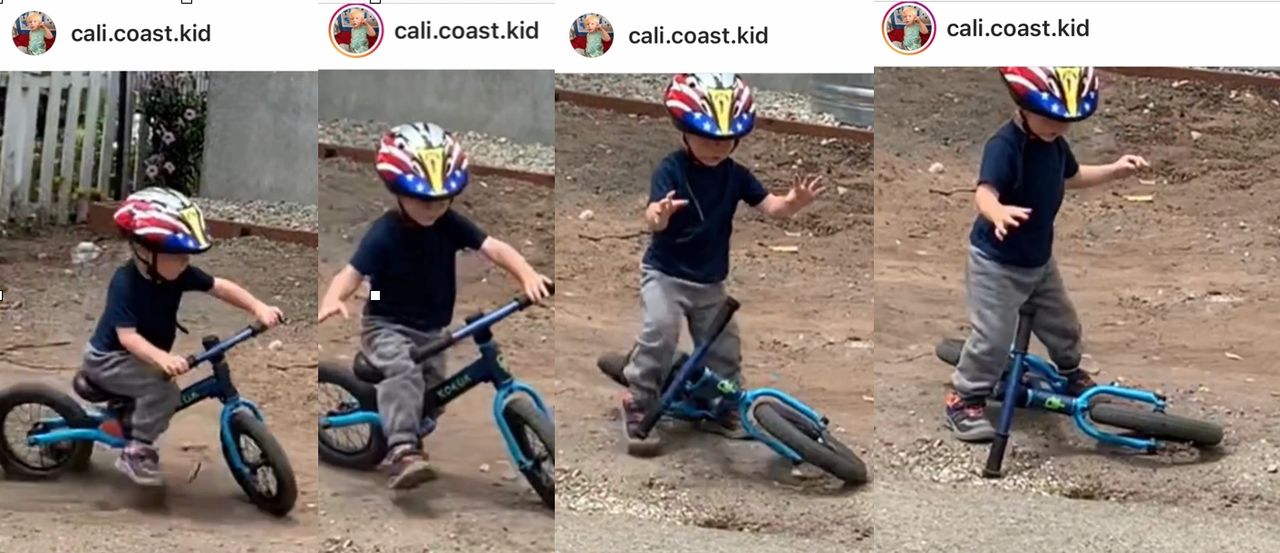
It's OK to let go
"Now, you've done so great with control, let me show you how to let go of the bike if you feel like you will fall. "It's OK to let go, the bike will be OK." (These bikes are built tough, and if you see scuffs or scratches, the aluminum will not rust). "Sit on the bike. Now stand up and push the bike away from you". "When you are rolling, the bike will automatically roll away from you after you stand up and let go of the handle bars."
Ready to roll
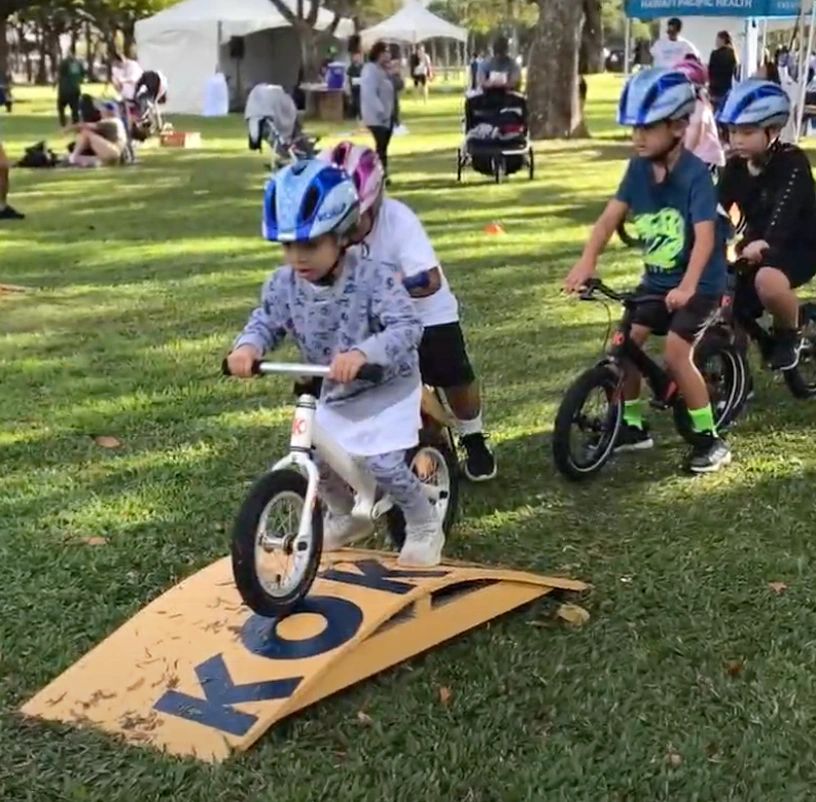
In order to balance a bike, there needs to be forward movement. The faster the speed, the easier to balance. Of course kids are scared to start, think butterflies in the stomach. Most find difficulty pushing the balance bike so I recommend starting on a slightly sloped surface, equivalent to a wheelchair ramp. Most parking lots and paved surfaces are sloped for water drainage.
When I bring balance bikes to a public event, I also bring ramps that are only 4 inches tall so that kids can push up the ramp and then get some momentum. You can also go to a grassy park hill. Don't start at the top of a hill, but rather start at a lower portion of a hill and slowly work up as confidence grows.
Head up
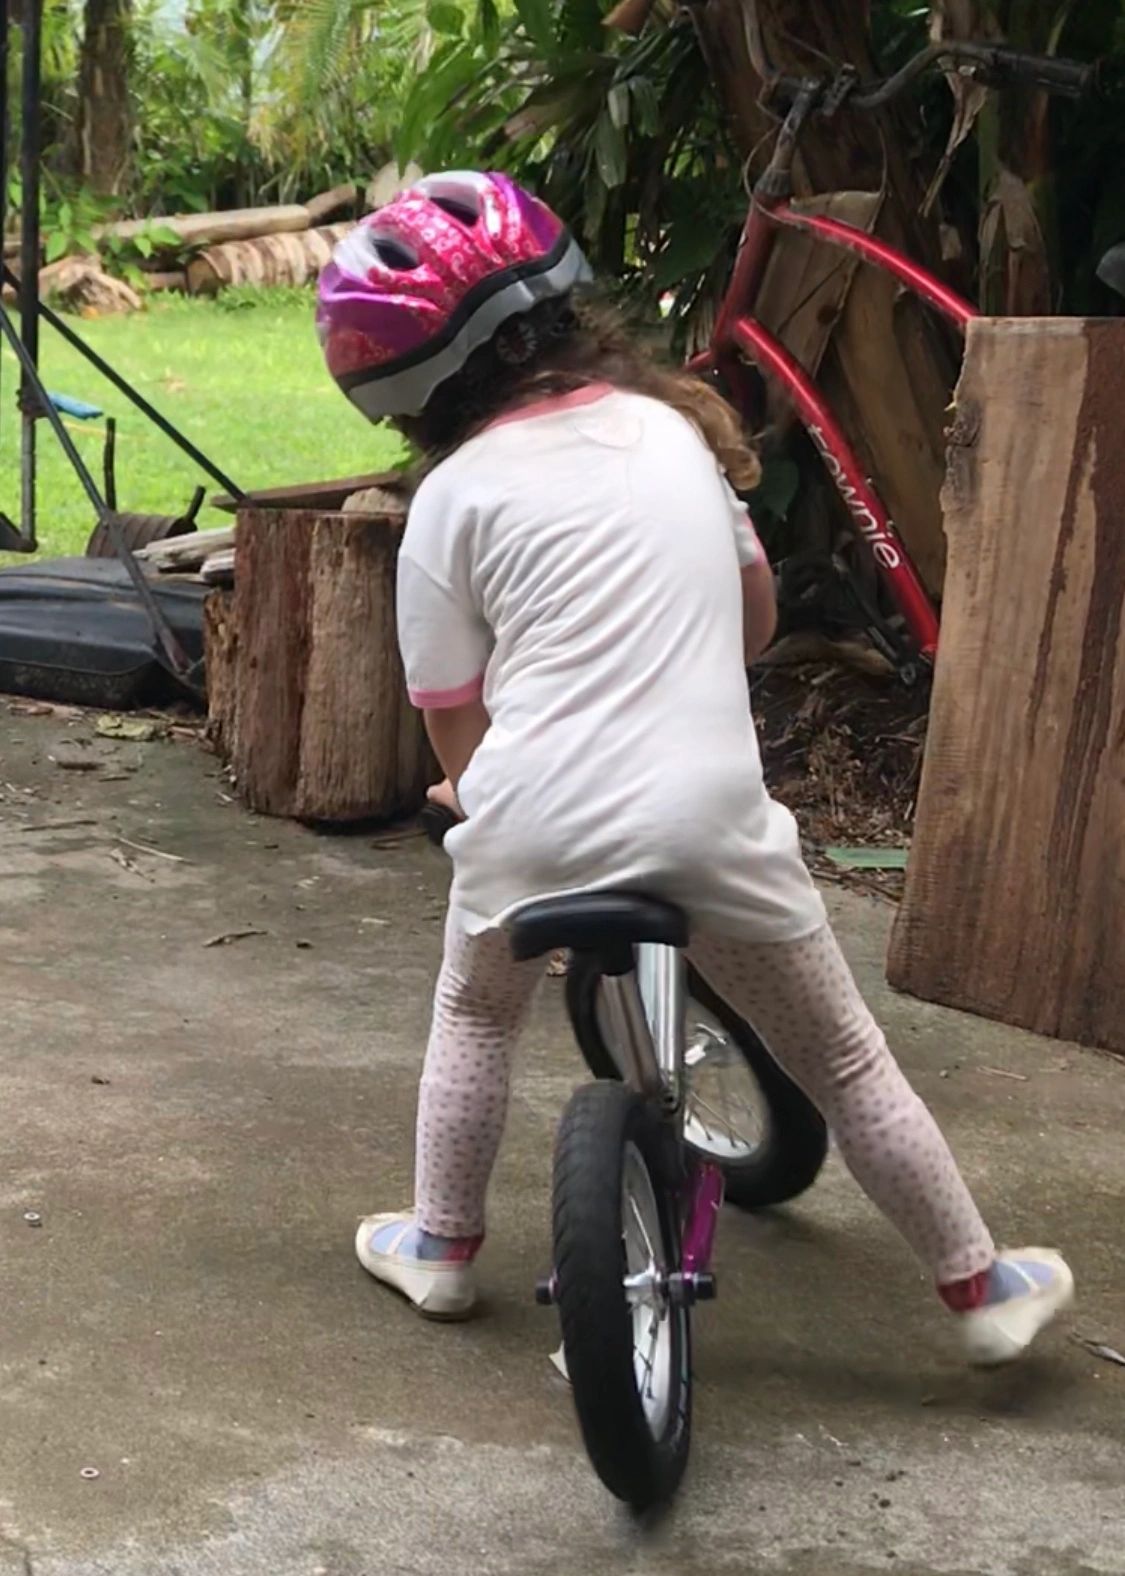
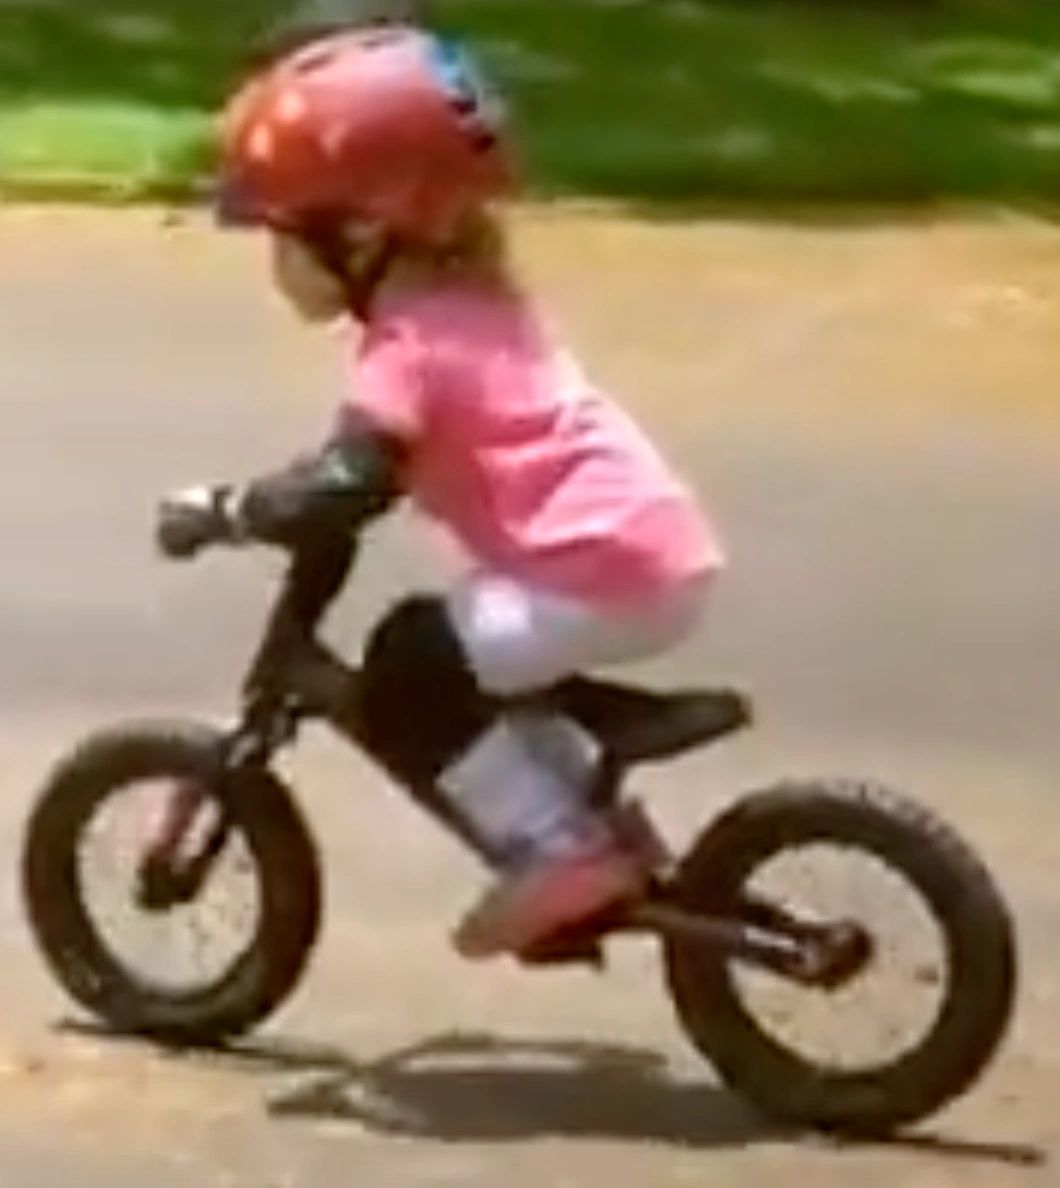
Focus on a point ahead and aim for it. Use feet to walk or roll the bike while looking straight ahead. Go faster when it feels comfortable. When you have speed, lift up your feet and glide. Always keep your head looking up.
Feet up on the forks
Tiny kids with seat all the way to the bottom will have more difficulty putting feet on the forks until the seat moves up some, OR the y get so well balanced that they can stand on the forks and ride with boomy off of the seat.
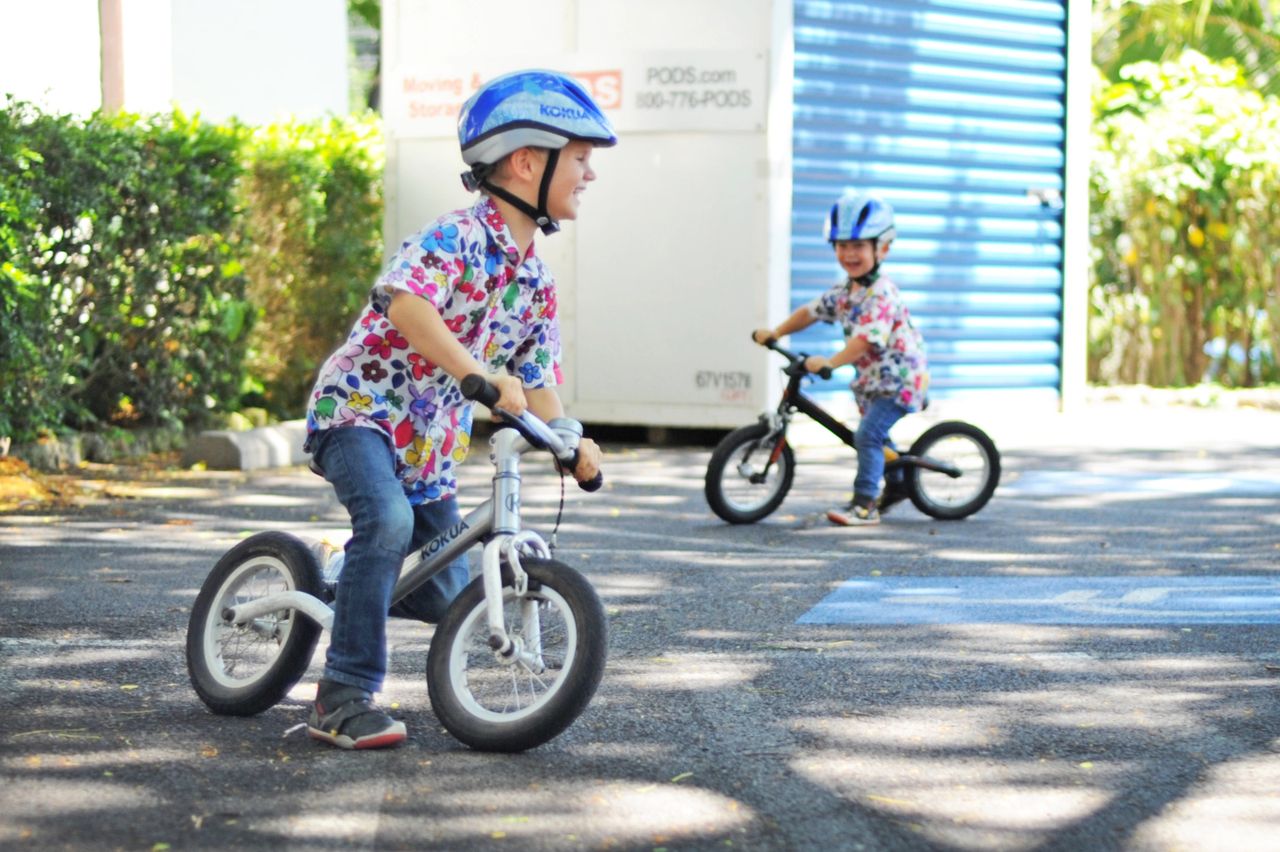
Ride with siblings or friends
the more the merrier! Riding with other kids means learning how to share space - courtesy, judgement, .....
Developing the "whole child"
gross motor development
- coordination through repetition
- balance through muscle development
- control through coordination and balance
social and emotional skills development
- self concept - "I am......
- determination "I will do this......
- self-confidence "I can do a lot of things.........
active life, with exercise built-in
- Bike as transportation to and from school, sports, and errands.
- Bike as means of exploration of new places.
- Independent mode of travel teaches rules of the road at an early age.